
This post may include affiliate links; see our disclosure policy.
Here’s my secret technique for perfectly crispy Brussels sprouts! These oven-roasted Brussels sprouts get caramelized and crispy, then tossed with a tangy balsamic glaze for the ultimate side dish.
These crispy Brussels sprouts are so tasty, you might think they were fried. But guess what? They’re baked! But they taste just as good as the ones you can get at any restaurant.
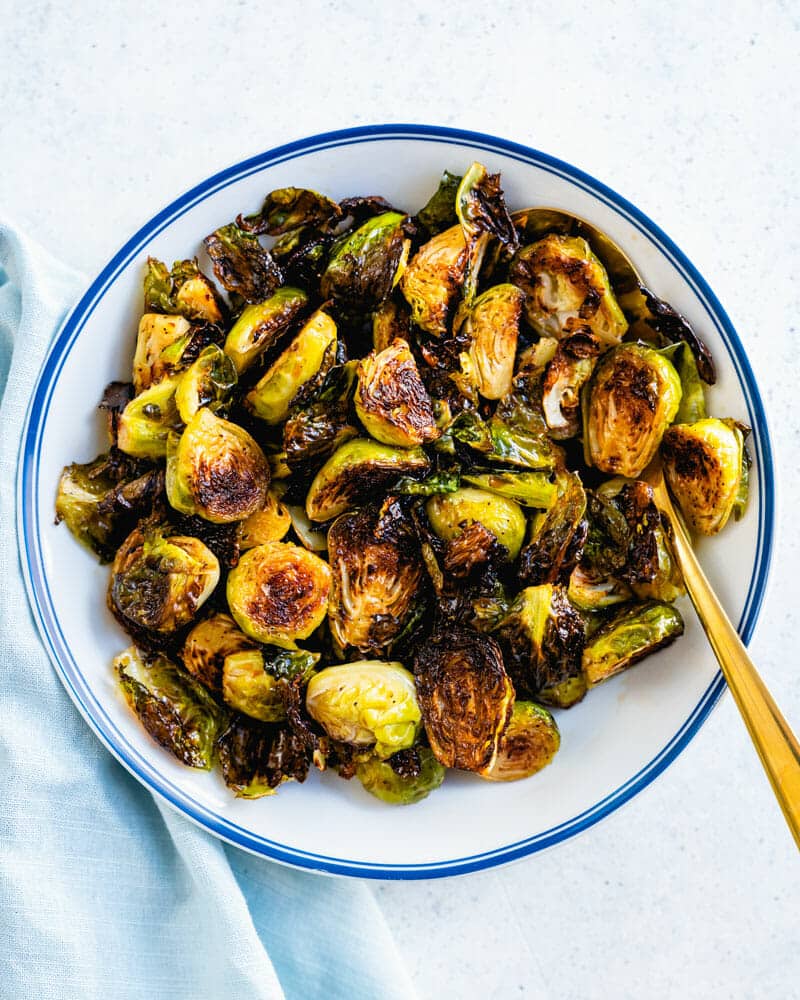
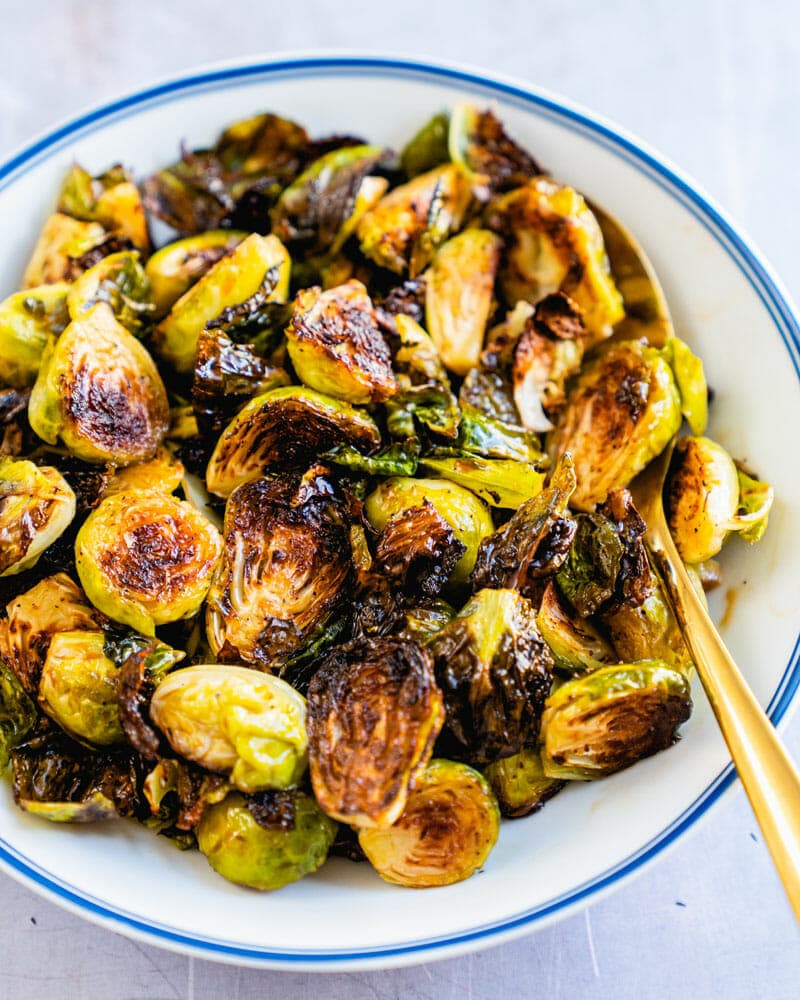
These crispy sprouts have become my go-to side dish when I want to impress guests or just treat my family on a weeknight. They’re baked until crisp, and I like to toss them with a balsamic and honey sauce that adds tangy and sweet notes. I could eat entire pans of these in a sitting! I’ve tested countless methods over the years, and here’s the technique that stuck.
The Secret to Crispy Brussels Sprouts
Every time I see crispy Brussels sprouts on a menu, I can’t resist ordering them. This vegetable has had a huge resurgence in popularity, probably because everyone realized that roasting or frying sprouts tastes so much better than boiling them.
You can recreate that restaurant-style glamour at home using your own oven. Here are a few tips for getting the crispiest sprouts in town:
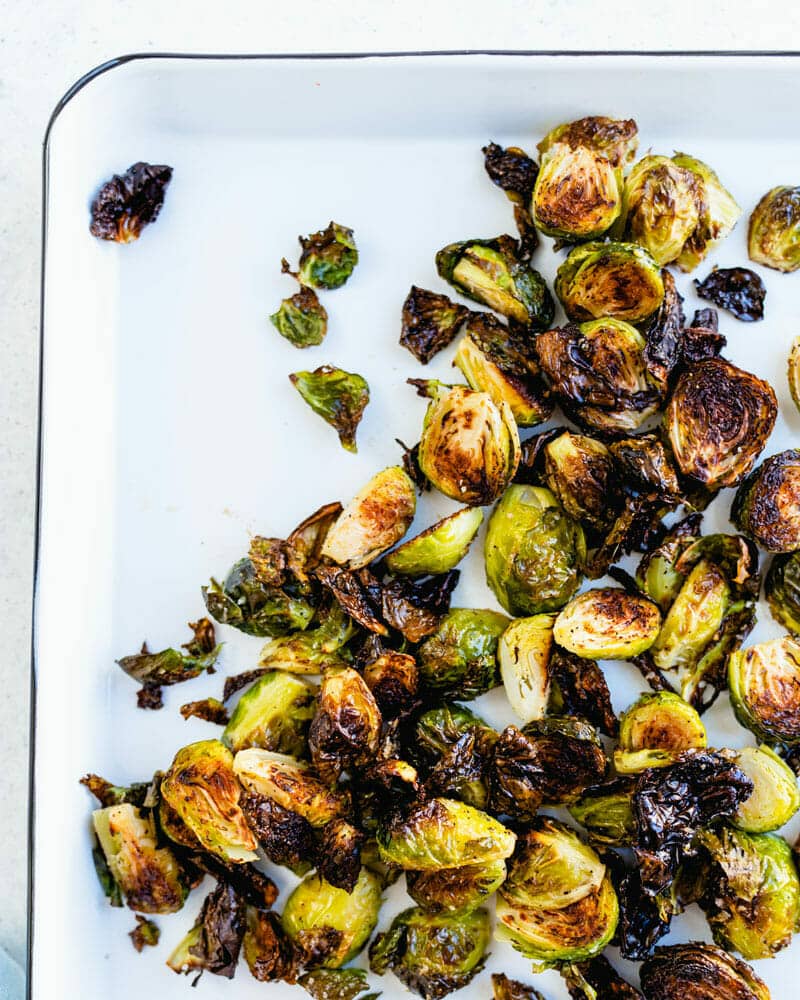
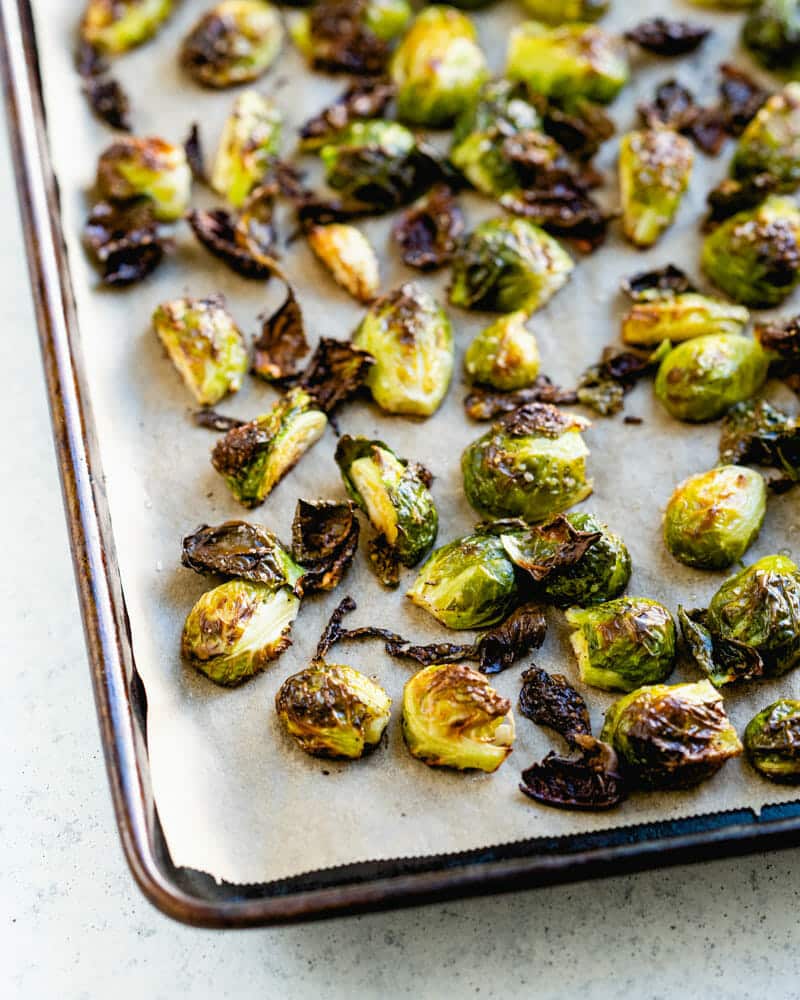
- Roast at hight heat (450°F). The best roasted veggies are roasted at very high heat. Otherwise, they’ll steam and turn out soggy.
- Place them on a baking sheet as spread out as possible, cut side down. Turn down all those flat sides, and you’ll get the perfect browning. Having them far apart makes for appropriate air flow: if they’re stacked, they’ll steam instead.
- Make this the only pan in the oven! This one’s important. I never roast anything else in the oven at the same time. I learned this the hard way when my Brussels sprouts turned out soggy because I was cooking other dishes simultaneously. The moisture from other foods affects the crispiness!
Expert Tip: Avoid Silicone Baking Mats
I suggest using parchment paper in all of my roasting recipes. Parchment paper is great for easy cleanup, so food doesn’t get glued to the pan! If you don’t have any parchment paper, you can roast right on an oiled baking sheet.
Avoid using a silicone baking mat for this recipe. I’ve found that silicone baking mats make veggies more soggy. To get the crispiest of crispy Brussels sprouts, use either parchment paper or skip it and roast them right on the tray.

Essential Ingredients You’ll Need
I keep the ingredient list simple to let the Brussels sprouts shine. Here’s what you’ll need:
- Fresh Brussels sprouts: There are quite a few different varieties of sprouts out there, but I look for firm, bright green sprouts without yellow leaves more than type. Size doesn’t matter much, but try to choose ones that are roughly the same size for even cooking.
- Olive oil: I use extra-virgin olive oil for the best flavor, and it helps create that crispy exterior
- Kosher salt: I prefer kosher salt over table salt because it distributes more evenly and doesn’t make the sprouts taste overly salty.
- Balsamic vinegar and honey: For the optional glaze, I use good-quality balsamic vinegar and local honey.
Notes on the Balsamic Sauce
To take crispy Brussels sprouts over the top, I often like to toss them with a balsamic and honey sauce to add tangy, sweet flavor.
But keep in mind, adding the sauce does wet the sprouts, making them a little less crispy. So if your goal is ultra crispy, try them without it first! You can use maple syrup to make a vegan sauce, or add a little hot sauce for a spicy sauce.
Variations on Crispy Brussels Sprouts
There are lots of other tasty ways to top crispy Brussels sprouts! Here are a few more ideas I’d recommend:
- Parmesan or Pecorino cheese: Make them even crunchier by tossing with shredded or grated aged cheese halfway through the bake time.
- Nuts: Top with toasted pecans or glazed pecans for another crunch.
- Goat cheese or feta crumbles: These cheeses add a salty, savory flavor.
- Balsamic reduction: Add a drizzle of concentrated, sweet-tart flavor by adding balsamic reduction.
Storage and Reheating Tips
Crispy Brussels sprouts are best fresh from the oven. However, you can store leftover Brussels sprouts in an airtight container in the refrigerator for up to 4 days. I’ve found that reheating them in a 400°F oven for 5 to 7 minutes can bring back some crispiness, though it’s not quite the same. You can also throw them in the air fryer.
For meal prep, I sometimes roast a large batch and then use them throughout the week in grain bowls, quinoa salad, or farro bowls.
Dietary Notes
This crispy Brussels sprouts recipe is vegetarian, vegan, plant-based, dairy-free, and gluten-free.
Frequently Asked Questions
No, I don’t recommend using frozen Brussels sprouts for this recipe. Frozen sprouts contain too much moisture, which prevents them from getting crispy. The extra water content means they’ll steam rather than roast, resulting in soggy vegetables. Always use fresh Brussels sprouts for the best texture.
No, you don’t need to soak Brussels sprouts. Simply trim the hard ends, slice them in half, and they’re ready to roast. Soaking would add unnecessary moisture that would work against achieving maximum crispiness.
Overcooking at low temperatures can make Brussels sprouts taste more bitter. Roasting at high heat (450°F) caramelizes the natural sugars and reduces bitterness significantly. Also, make sure to remove any yellowed or damaged outer leaves before roasting, as these can contribute to bitter flavors.
You can trim and halve Brussels sprouts up to 24 hours in advance. Store them in an airtight container in the refrigerator, but wait to toss them with oil and seasonings until just before roasting. This prevents them from releasing moisture and keeps them at their best for achieving crispy results.
450°F is the ideal temperature for perfectly crispy Brussels sprouts. This high heat is essential for caramelization and creating that crunchy exterior. Lower temperatures will result in softer, less crispy sprouts.
Brussels sprouts are done when they’re deeply browned on the cut side and tender when pierced with a fork. This usually takes about 25 minutes at 450°F. The outer leaves should be crispy and slightly charred.
Perfectly Crispy Brussels Sprouts

Here’s my secret technique for perfectly crispy Brussels sprouts! These oven roasted Brussels sprouts get caramelized and crispy, then tossed with a tangy balsamic glaze for the ultimate side dish.
- Prep Time: 10 minutes
- Cook Time: 25 minutes
- Total Time: 35 minutes
- Yield: 4 1x
- Category: Side Dish
- Method: Roasted
- Cuisine: Vegetables
- Diet: Vegetarian
Ingredients
- 1 1/2 pounds Brussels sprouts
- 3 tablespoons olive oil
- 1 teaspoon kosher salt
- ¼ teaspoon black pepper
- 2 tablespoons balsamic vinegar
- 2 tablespoons honey (or maple syrup)
- Spicy variation: 1 teaspoon hot sauce, plus more to drizzle
Instructions
- Preheat the oven to 450°F. (To get them perfectly crispy, make sure this is the only pan in the oven and you’re not roasting anything else at the same time.)
- Slice off any hard ends of the Brussels sprouts, as needed. Slice them in half lengthwise and place them in a large bowl.
- Mix the sprouts with the olive oil, kosher salt, and lots of fresh ground black pepper.
- Line a baking sheet with parchment paper*, then pour the spouts onto the sheet. Turn them all cut side down.
- Roast for 25 minutes until very browned and tender. Don’t stir! They Brussels sprouts are done when they’re deeply browned on the cut side and tender when pierced with a fork. The outer leaves should be crispy and slightly charred. For the crispiest sprouts, you can eat them as is, or go to Step 6.
- Optional: While the sprouts are roasting, whisk together the balsamic vinegar and honey or maple syrup (and 1 teaspoon hot sauce, if using). When the sprouts are done, pour over the mixture and toss to combine. For the spicy variation, drizzle with additional hot sauce to taste. Serve immediately.
Notes
*Don’t use a silicone baking mat, since these can also make the Brussels sprouts less crispy. If you don’t have parchment paper, you can skip it and roast directly on the sheet.
More Brussels Sprout Recipes to Try
- Roasted Brussels Sprouts
- Smashed Brussels Sprouts
- Brussels Sprout Casserole
- Parmesan Brussels Sprouts
- Steamed Brussels Sprouts
- Sautéed Brussels Sprouts
- Shaved Brussels Sprouts


an i use frozen Brussels sprouts. Pretty sure it’s a no d9nt use frozen. but gotta ask. thanks
A quick question, I have a slightly deeper 1/2 sheet aluminum pan that can hold a metal rack inside it. Will the sprouts get crispier on top of the rack (face down) or do as indicated placing them directly on the sheet pan? (I’m assuming the later but just wanted to confirm.) I’ll try using the convection setting on my oven as well. I haven’t had luck in the past (some crisp on the outside but not on the inside), and the only thing I can think of to do on my next attempt is to cut the sprouts into a smaller size. Thank you!
Hi, yes this should help with cripsing!
I wanted a simple recipe and this was it. The sprouts came out great!
My wife loved every recipe that I used. Happy that you have plant based options too. Keep the awesome recipes coming
Hi, love making brussel sprouts like this in the oven , and also love the convenience of parchment paper. The manufacturer of parchment paper, however, cautions not to use it in temps over 425 degrees because it can (and has!!) caught on fire. I don’t like to push my luck past 400 now.
This recipe does not need amendments – my only complaint? The brussel sprouts didn’t last long enough so I made a second batch and snacked on them while watching a movie. Delicious!